TL;DR:
Recording a Google Meet session depends on your account type and device, but options exist for every user.
- Native Cloud Recording: Available exclusively for paid Google Workspace subscribers with host permission. The final video automatically saves straight to the host’s Google Drive.
- Third-Party Workarounds: Free Gmail accounts can bypass native restrictions by using desktop software (like iReaShare Screen Recorder), lightweight browser extensions, or built-in system screen recorders on iOS and Android devices.
- Sharing and Privacy: While local recordings save directly to your device storage, cloud captures are easily shared via links. Regardless of your method, always seek participant consent before recording.
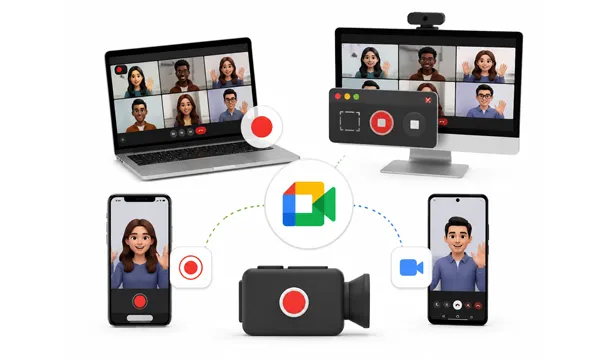
Google Meet has become a staple for remote work, online learning, and staying connected with friends and family. Fast-paced virtual meetings can make it hard to keep track of every detail discussed, and that's why so many people search for how to record Google Meet sessions. A recording ensures you never miss critical information and lets you share discussions with team members who couldn't make it.
Whether you are using a computer, iPhone, iPad, or Android device, this comprehensive guide will walk you through the exact steps to record your Google Meet sessions seamlessly.
Part 1: How to Record Google Meet on Computer
Recording on a laptop or desktop offers the most flexibility, allowing you to use built-in tools, desktop software, or handy browser extensions.
1.1 Using Google Meet Directly
Google Meet has a native recording feature, but it is tied to specific Google Workspace subscriptions (like Business Plus, Enterprise, or Education accounts) and usually requires host permission.
Here's how:
-
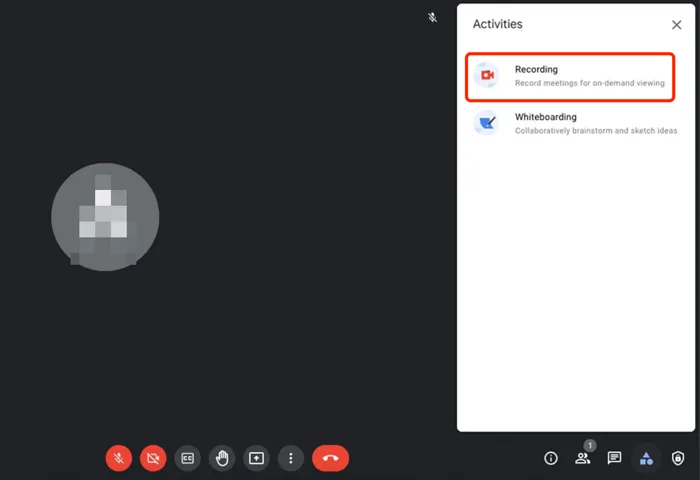
Use a supported Workspace account. Click on the "Activities" icon (represented by a shapes icon: a square, triangle, and circle) in the lower-right toolbar.
-
Click on "Recording" from the list, then click "Start recording". A pop-up window will appear asking you to confirm.
-
Tap "Start" on the confirmation window. All participants will receive a notification that the meeting is being recorded, and a red "REC" icon will appear in the top left.
-
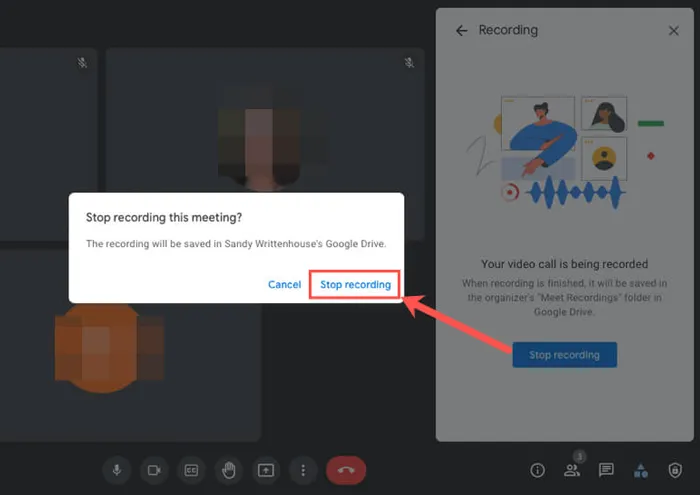
When finished, click the "Activities" icon again, select "Recording", and click "Stop recording". The video will automatically save to the host's Google Drive in a folder named "Meet Recordings".
1.2 Using iReaShare Screen Recorder
If you are a free Gmail user or do not have recording permissions from the host, using a dedicated desktop software tool like iReaShare Screen Recorder is an excellent workaround. It captures high-quality video and system or microphone audio without limitation. By the way, the free version has a watermark. If you don't mind this, it will be an ideal option.
Main features of iReaShare Screen Recorder:
* Record full-screen, selected window, or custom region video during Google Meet calls with no time limit.
* Capture system audio or microphone input for clear, complete meeting sound.
* Export recordings in popular MP4 formats for easy sharing and playback on any device.
* The whole recording process is local, private, and safe.
* Allow you to take screenshots of your meeting and edit the picture directly.
Download the screen recorder on your PC.
To record Google Meet with iReaShare Screen Recorder:
-
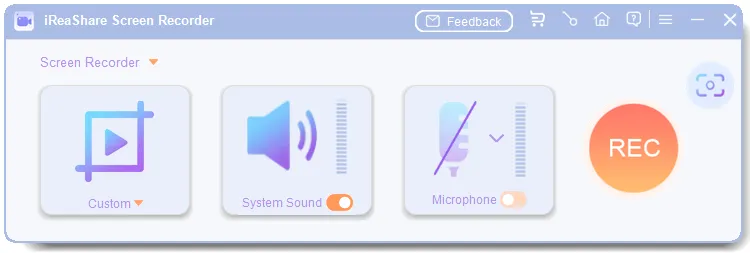
Download the screen recorder application on your Windows computer, and launch it. Then you can select the recording area: "Custom" or "Full Screen".
-
Enable "System Sound" if you want to record the audio sources of your colleagues. Next, click "REC".
-
Select the recording region if you have chosen the Custom mode in Step 1. Then click "Start Recording". Once recorded, click "Stop Recording" and save the video on your PC directly.

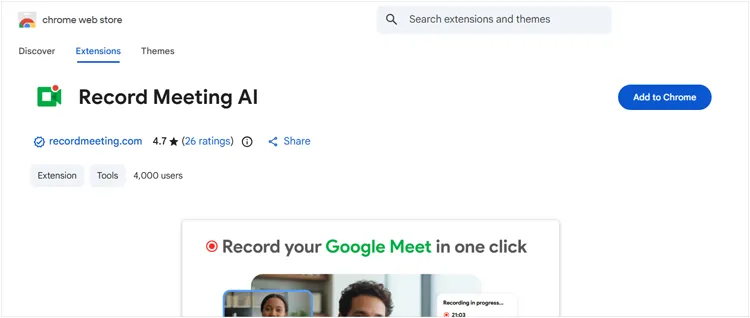
1.3 Using Record Meeting AI
If you prefer not to install software, a Chrome browser extension like "Record Meeting AI" is a lightweight, convenient alternative. However, the free version has a time limit.
To record the meeting with this extension:
-
Search for "Record Meeting AI" in the Chrome Web Store and click "Add to Chrome".
-
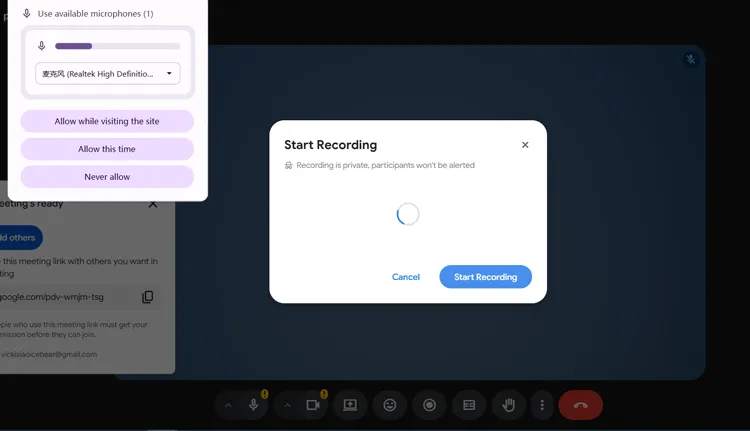
Open your Google Meet link in the Chrome browser. Next, click the extension icon in your browser's top-right toolbar. Select your preferred recording layout.
-
Click "Start Recording". When the meeting concludes, click "Stop". The extension will compile the video, allowing you to download the file directly to your local storage or save it to your cloud.
Part 2: How to Record Google Meet on iPhone or iPad
iOS and iPadOS do not support native recording directly inside the Google Meet app due to Apple's privacy restrictions on simultaneous microphone usage. However, you can easily use the built-in iOS Screen Recording tool.
To record Google Meet on an iOS device:
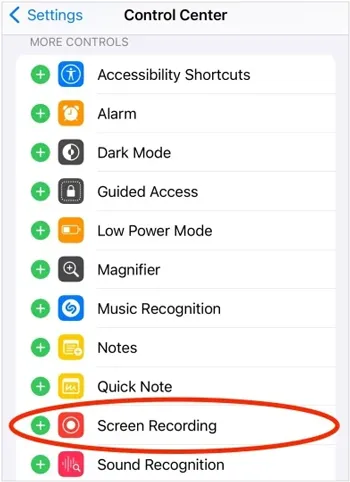
-
Go to Settings > "Control Center" and tap the green "+" icon next to "Screen Recording" to add it to your active controls.
-
Open the Google Meet app on your iPhone or iPad and join the scheduled session. Then swipe down from the top-right corner of your screen (or up from the bottom on older devices) to open the Control Center.
-
Press and hold the "Screen Recording" icon (a solid circle inside a ring). Tap the "Microphone" icon to turn it "ON", then tap "Start Recording".
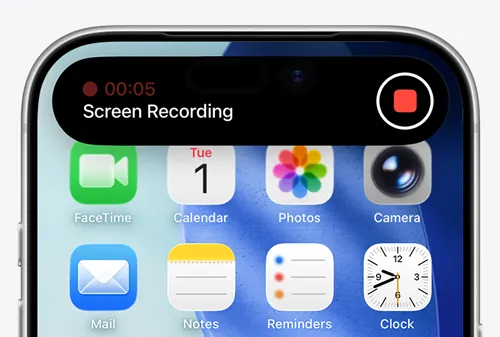
-
To finish recording, tap the red status bar or floating bubble at the top of your screen and select "Stop". Your recorded meeting will be saved directly to your Photos app.
Part 3: How to Record Google Meet on Android
Most modern Android devices come equipped with a built-in screen recorder accessible directly from the Quick Settings panel. If you want to record the screen on your Android phone, that will be very easy.
Here's the guide:
-
Launch the Google Meet app on your Android device and enter the meeting room. Then swipe down twice from the top of your screen to fully expand the Quick Settings panel. Look for the "Screen Recorder" or "Record Screen" icon.
-
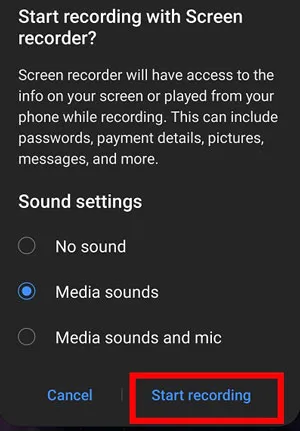
Tap the icon. A pop-up will ask about audio preferences. Select media sounds and microphone (or local equivalent) so you can capture both the meeting audio and your own voice.
-
Tap "Start recording". A brief countdown will play, and a floating toolbar will appear indicating the recording is active. When the meeting wraps up, tap the "Stop" button on the floating toolbar. The video will save straight to your phone's Gallery or Google Photos.
Part 4: Q&A About Recording Google Meet
Q1: Can I record Google Meet if I'm not the host?
Yes, but it depends on the method. If you are using Google Meet's native recording tool, you cannot record unless the host grants you co-host privileges or explicitly permits it. However, if you use third-party tools like iReaShare Screen Record, browser extensions, or the built-in screen recorders on iOS/Android, you can record the meeting even if you are an ordinary participant.
Note: Always seek verbal or written permission from the participants before recording via third-party tools to respect privacy laws and corporate compliance.
Q2: Can free Gmail users record Google Meet?
Natively, no. Google restricts the built-in recording feature to paid Google Workspace tiers. Free, personal @gmail.com accounts do not have the "Recording" option under the Activities menu. If you have a free account, your best option is to utilize local computer software (like iReaShare Screen Recorder), extensions, or mobile system screen recorders.
Q3: Can recordings be downloaded or shared?
Absolutely. Native Google Meet recordings: The file is automatically generated as an MP4 and saved to the host's Google Drive. From there, the host can download the file locally or share it with others via a link or direct email access.
Third-party software & mobile tools: The file saves directly onto your device's hard drive or camera roll. You can upload it to any cloud storage provider (Dropbox, OneDrive, Google Drive), upload it to YouTube as an unlisted video, or send it directly via messaging platforms.
Conclusion
Recording a Google Meet session is highly achievable, regardless of your subscription tier or device type. While paid Google Workspace users can take advantage of the native, cloud-based recording feature, free users and mobile participants can easily rely on excellent alternatives like desktop iReaShare Screen Recorder, browser extensions, or built-in phone utilities.
By choosing the right tool for your specific setup, you can effortlessly archive your digital collaborations and ensure that crucial insights are preserved for future reference.
Related Articles
How to Screen Record Instagram Stories Without Trouble (New Guide)
ScreenFlow Review and Best Alternatives (Trustworthy Tutorial)
Fix PowerPoint Screen Recording Not Working (13 Fixes and an Alternative)
Camtasia Screen Recording Software: Latest Review and Top 12 Alternatives