


TL;DR:
This guide explains how to manage, move, and restore local iOS backups on your computer. Here is what you need to know:
- Default Storage Locations: iTunes/Finder automatically saves backups in hidden system folders (AppData\Roaming on Windows and Library/Application Support on Mac) to prevent accidental data corruption.
- Changing Storage Locations: To free up local disk space, you can move your existing backup folder to an external drive and create a symbolic link (using Command Prompt for Windows or Terminal for Mac) to safely redirect all future backups.
- Flexible Data Restoration: Instead of a standard, all-or-nothing system restore, tools like iReaShare iPhone Manager allow you to safely preview and restore your backup files.
When managing your iPhone or iPad data, knowing your iTunes backup location is essential. By default, iTunes - or Finder on macOS Catalina and later - saves your device backups to a specific folder on your computer. Yet most users have no idea where these files are stored, let alone how to move or access them.
This guide covers everything you need to know, from finding your backup directory on Windows and Mac to changing its path and recovering your data when it matters most.
Part 1: Where Is iTunes Backup Stored on Windows 11/10 or Mac?
Where are itunes backups stored? We will find out in this part. By default, Apple stores your device backups in specific system folders. Because these folders contain critical data, they are often hidden by default to prevent accidental deletion.
1.1 On Windows 11 and Windows 10
The exact path depends on whether you downloaded iTunes from the Microsoft Store or from Apple's website directly.
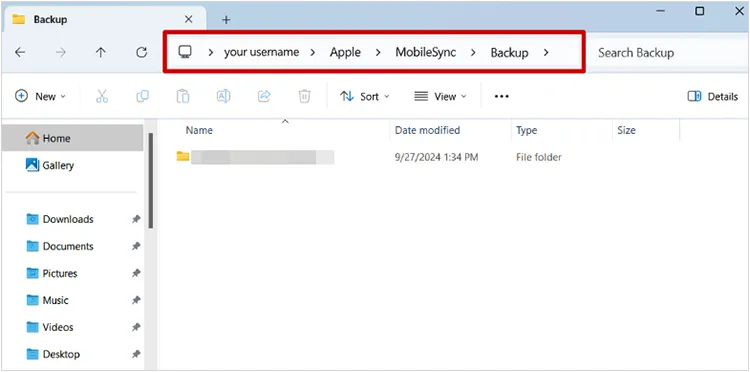
1. Microsoft Store Version (Most Common):
C:\Users\[Username]\AppData\Local\Packages\AppleInc.iTunes_lite...\LocalCache\Roaming\Apple Computer\MobileSync\Backup\
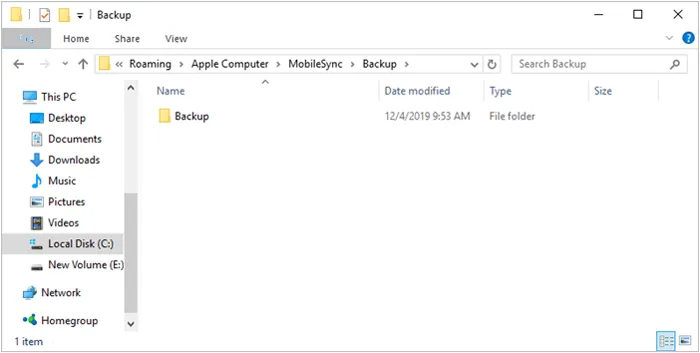
2. Apple Website Version (Standalone Installer):
C:\Users\[Username]\AppData\Roaming\Apple Computer\MobileSync\Backup\
Quick Tip for Windows: Press Windows Key + R to open the Run dialog, type %appdata% (or %userprofile% for the Store version), and hit Enter to jump straight to your app data folders.
1.2 On macOS (Mac)
If you are using macOS Catalina or later, iTunes is technically gone, and backups are managed via Finder. If you wonder whether your previous iTunes backup is stored on your Mac, follow this path:
/Users/[Username]/Library/Application Support/MobileSync/Backup/
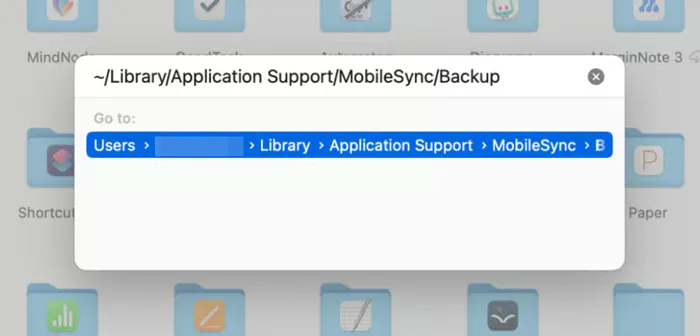
Quick Tip for Mac: Open Finder, click Go in the top menu bar, select Go to Folder..., paste ~/Library/Application Support/MobileSync/Backup/, and press Enter.
Part 2: How to Change iTunes Backup Location?
After you know how to find backups of iTunes on your computer, you may want to set the iTunes backup location on your own. Whenever you want to view the backup on iTunes, you can easily access it. In this case, you can follow the steps below to change your iTunes backup location.
2.1 How to Change the Location of iTunes Backup on Windows
Here are the steps:
-
Navigate to the "MobileSync" folder using the paths in Part 1.1. Cut the "Backup" folder and paste it into your new desired location (e.g., D:\iTunesBackup\Backup).
-
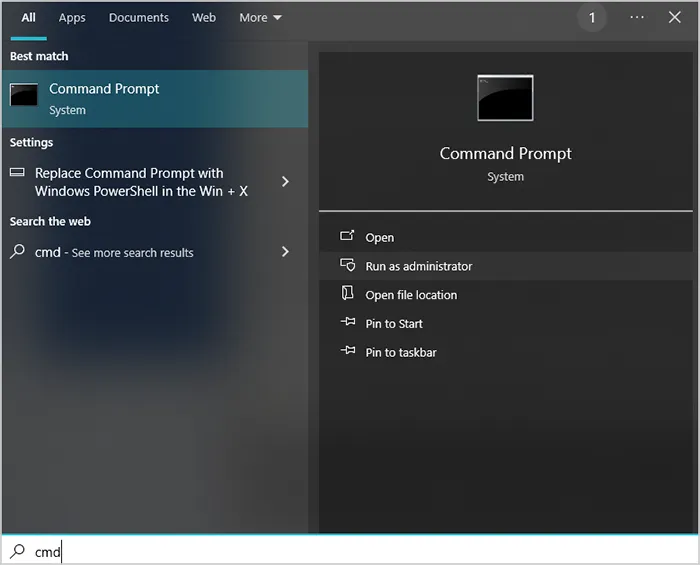
Press the Windows Key, type "cmd", right-click on "Command Prompt", and select "Run as administrator".
-
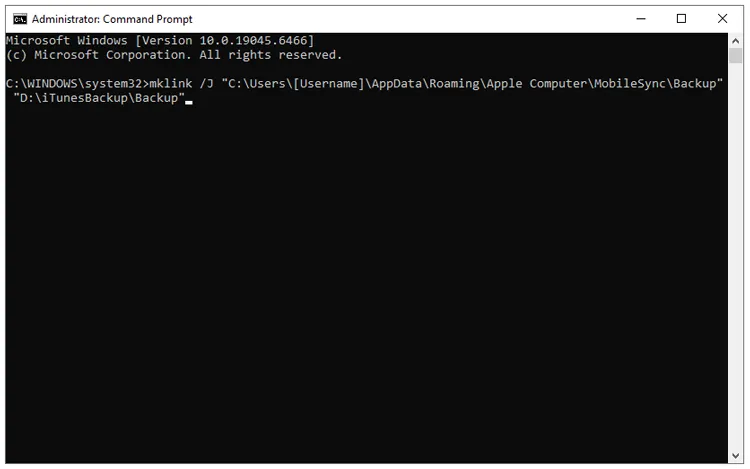
Type the following command (replace with your actual Windows username and your new target path) and press "Enter": mklink /J "C:\Users\[Username]\AppData\Roaming\Apple Computer\MobileSync\Backup" "D:\iTunesBackup\Backup".
-
If successful, a shortcut folder icon will appear in the original location, routing all future data to your D: drive.
2.2 How to Change the Location of iTunes Backup on Mac
To change the iTunes/Finder backup location on a Mac, you use a similar symbolic link method as Windows, utilizing the Terminal application.
Here's the guide:
-
Go to Mac's "System Settings" > "Privacy & Security" > "Full Disk Access", and toggle "ON" for "Terminal". Then open Finder, press "Command + Shift + G", paste the following path, and hit "Enter": ~/Library/Application Support/MobileSync/.
-
Drag and drop the "Backup" folder onto your external hard drive. Wait for it to copy completely. Next, delete the original "Backup" folder inside the "MobileSync" folder.
-
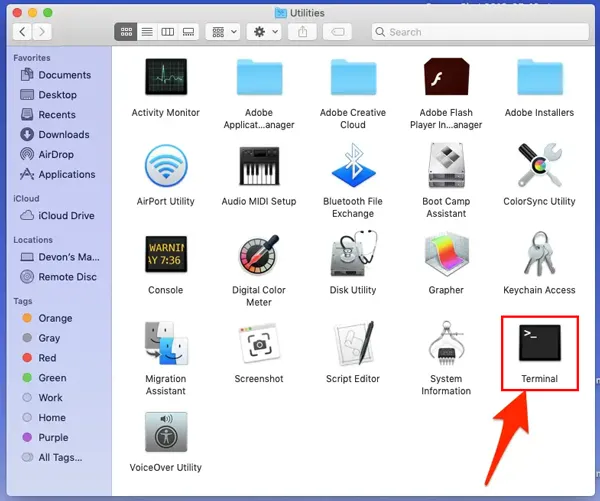
Open the Terminal app. Type "ln -s" (Make sure there is a space after -s). Do NOT press Enter yet. Drag and drop the new "Backup" folder from your external drive right into the Terminal window, and type a space.
-
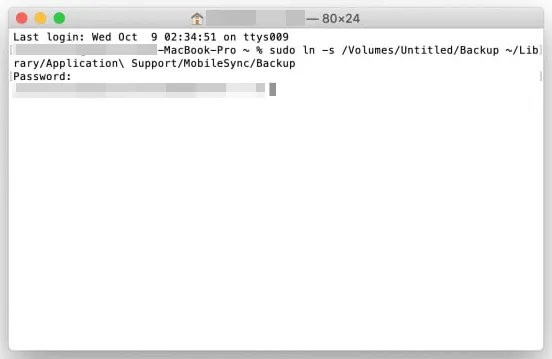
Drag and drop the "MobileSync" folder from Finder into the Terminal window, and type "/Backup" at the very end. Hit "Press". It will automatically look like this: ln -s /Volumes/YourDrive/Backup /Users/YourName/Library/Application\ Support/MobileSync/Backup.
-
Go back to the MobileSync folder in Finder. If you see a Backup folder with a small shortcut arrow on it, you nailed it. By the way, you can move your backup file to a local folder as well.
Part 3: How to Restore iTunes Backup Files via iReaShare iPhone Manager?
While iTunes and Finder offer a basic "all-or-nothing" restoration feature, they often overwrite current data on your device. If you want a flexible restoration process, using iReaShare iPhone Manager is highly efficient. Besides, this iTunes alternative can help you easily delete useless iTunes backup files, and manage your iOS files on your computer, including previewing, deleting, exporting, editing, etc.
Main features of iReaShare iPhone Manager:
* Back up your entire iPhone or select specific data types and restore them to any device without overwriting existing content.
* Access and manage individual files - including photos, contacts, messages, and more - without performing a full sync.
* Easily locate, read, and extract data from existing iTunes backups stored on your computer.
* Transfer data seamlessly between iOS devices and a computer with just a few clicks.
* Navigate your iPhone's contents through a clean, intuitive dashboard that requires no technical expertise.
* Support the latest iPhone models and iOS versions, ensuring up-to-date performance and reliability.
Download iReaShare iPhone Manager.
Download for Win Download for Mac
Here's how to restore an iTunes backup file to your iPhone with this software:
-
Download, install, and open iReaShare iPhone Manager on your PC/Mac. Connect your iPhone via a USB cable.
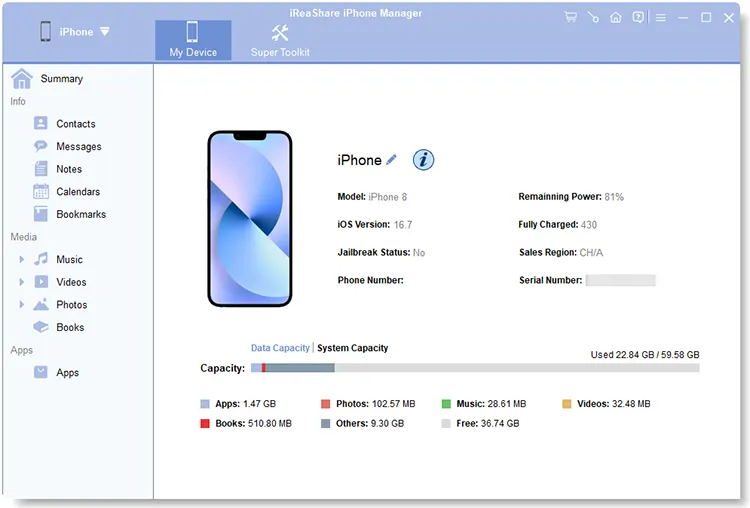
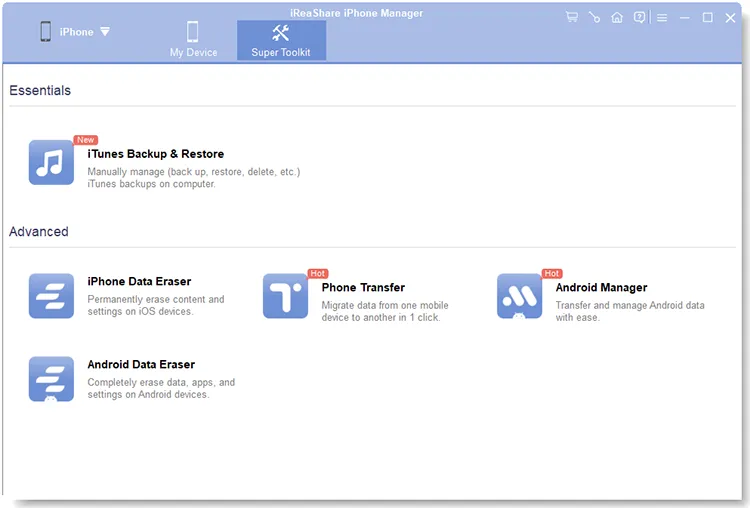
-
Navigate to the "Super Toolkit" > "iTunes Backup & Restore" icon. The software will automatically detect the default iTunes backup directory on your computer.
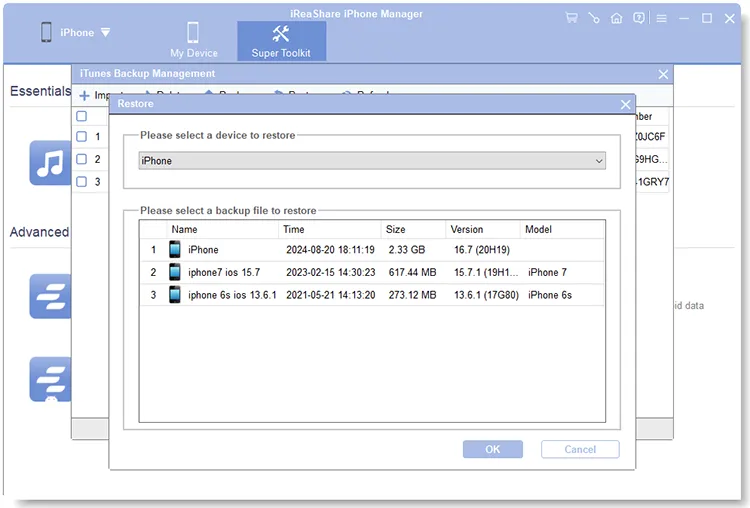
-
Choose the "Restore" option, and select the backup file you wish to extract from. Then tap "OK" to begin restoring the iTunes backup data to your iPhone.
Part 4: Q&A About iTunes Backup Location
Q1: Is iTunes backup still a thing?
Yes. While Apple has phased out the iTunes app on macOS (replacing it with Finder), iTunes is still actively maintained and updated on Windows 10 and 11. Local computer backups remain incredibly popular for users who do not want to pay for monthly iCloud storage or prefer faster, offline data management.
Q2: Why is the iTunes backup folder hidden?
Apple purposefully hides directories like AppData (Windows) and Library (Mac) to protect user system stability. The backup files are stored in database-like formats rather than standard JPEG or MP4 files. If a user accidentally renames, moves, or deletes a file within this directory, the entire backup becomes corrupted and unreadable by iOS.
Q3: Can I read or open files inside an iTunes backup?
Not directly. If you open the backup folder, you will see lists of cryptic, hexadecimal-named files and folders. Apple structures backups this way for security and encryption purposes. To safely read, preview, or view individual items inside the backup, you must use a dedicated extractor or manager like iReaShare iPhone Manager.
Conclusion
Now, you know how to view backups on iTunes and change the backup location. Whether you choose to free up space by redirecting your backups via symlinks or opt for the precise control of tools like iReaShare iPhone Manager, mastering your backup locations ensures your irreplaceable digital memories and data always remain safe, organized, and retrievable.
Download for Win Download for Mac
Related Articles
iTunes Could Not Connect to This iPhone - 9 Fixes and 2 Alternatives
Resolved: How to Transfer Music from Computer to iPhone Without iTunes
How to Transfer eSIM from Android to iPhone Easily (3 Viable Ways)
How to Back Up iPhone to Mac Without Data Loss (Proven)
