


"How do I permanently delete a Word document on my laptop? This file contains sensitive information, and if I am unable to remove it completely, it will cause a loss for me. Please help!"
- From Microsoft Community
When you delete a file in the conventional way, it is usually just moved to the Recycle Bin or Trash, where it remains recoverable. For sensitive documents, simple deletion is often insufficient. To ensure your data is truly unrecoverable, you must bypass the temporary storage folder and, in some cases, overwrite the data sectors where the file was stored. Go on to get the solutions.

Part 1: How Do I Permanently Delete a Word Document on PC?
If you want to permanently remove a Word document from a Windows PC, here are 4 effective methods.
1.1 Using the Microsoft Word App
While the Word app itself is designed for creation, you can remove files from your "Recent" list to ensure they aren't easily accessible. However, note that this does not delete the file from your hard drive. To permanently delete it, you must also empty the Recycle Bin.
To permanently delete a Word document on PC with the Word app:
-
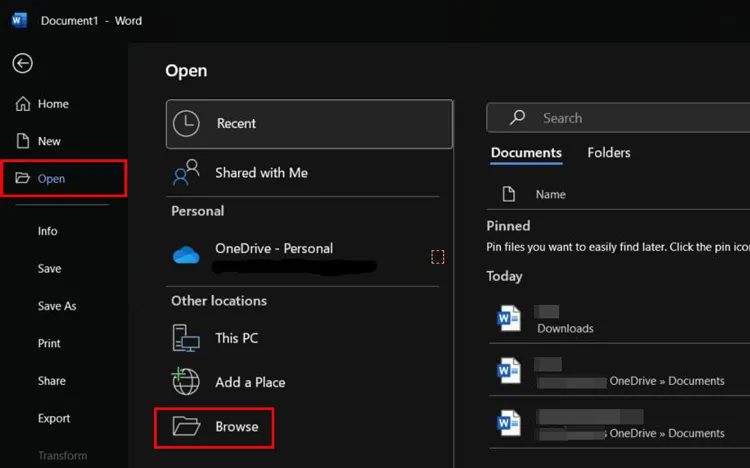
Open Microsoft Word on your Windows computer, and navigate to "File" > "Open" > "Browse".
-
Locate the document you want to delete, and right-click it. Then select "Delete" to remove it.
-
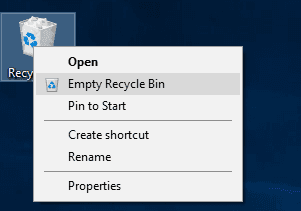
After that, go to "Recycle bin" and empty it. Please note that this method cannot ensure that the file cannot be recovered by professional recovery apps.
1.2 Using Shift + Delete
This is the fastest native method for Windows users to bypass the Recycle Bin. While effective, the file may still be recoverable with specialized tools unless overwritten. You can create or download new files to overwrite the deleted one manually.
To remove a Word file via Shift + Delete:
-
Locate the file in File Explorer by clicking "Windows + E". Then select your desired file.
-
Press "Shift + Delete" on your keyboard simultaneously.
-
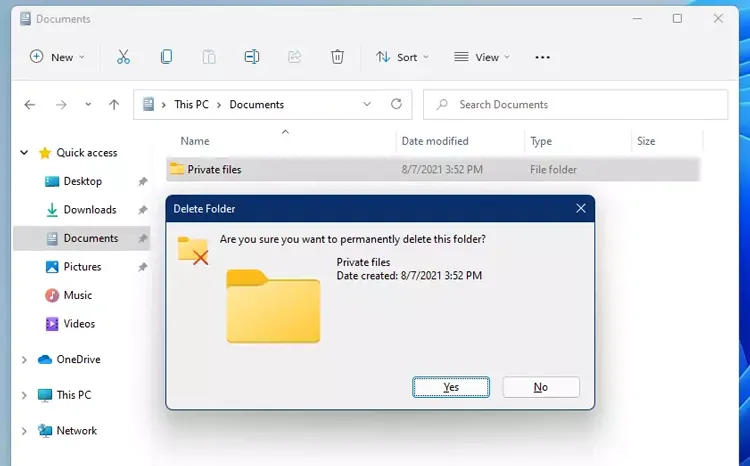
A prompt will appear asking, "Are you sure you want to permanently delete this file?" Click "Yes".
1.3 Using iReaShare Data Wipe
If you want to make sure your Word file is erased completely, you can utilize a file shredder - iReaShare Data Wipe. This software allows you to select specific files and folders, shred the data completely, and overwrite the deleted files efficiently.
Main features of iReaShare Data Wipe:
* Wipe data from a Windows PC thoroughly.
* Support selective file erasure and whole hard drive wiping.
* Erase different storage devices like SD cards, USB drives, hard drives, etc.
* Provide Quick Erase and Deep Erase modes.
* Wipe the free space only without deleting existing files.
Download iReaShare Data Wipe.
To permanently delete a Microsoft Word file with this software:
-
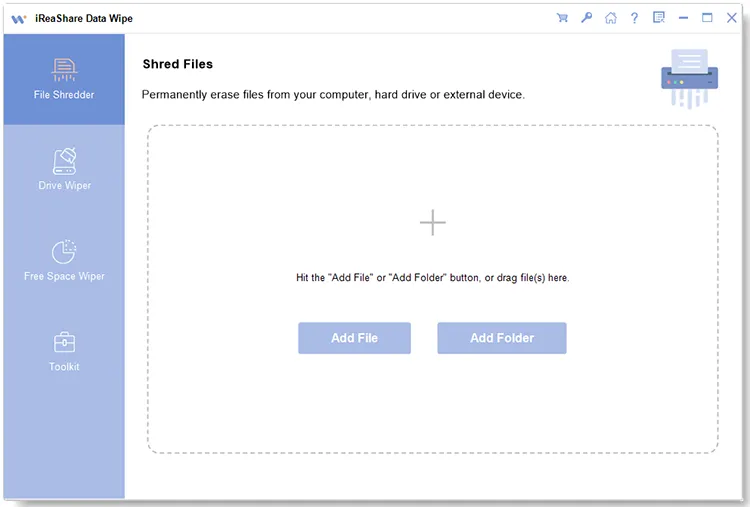
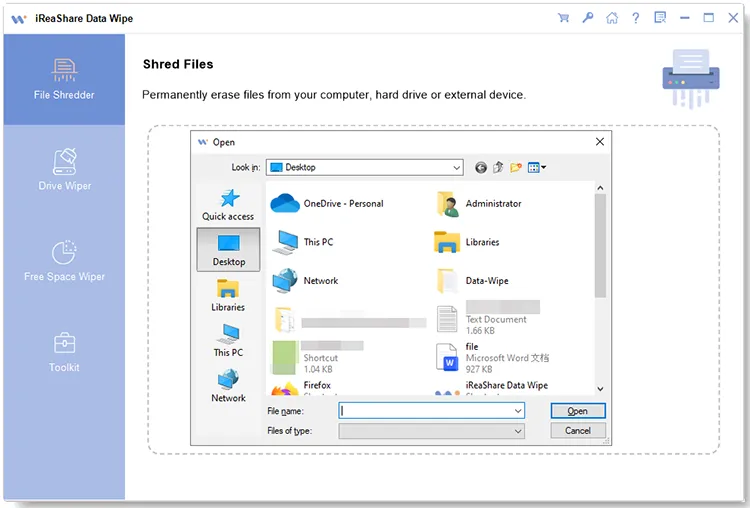
Install and launch iReaShare Data Wipe on your computer. Then select the "File Shredder" option on the left panel.
-
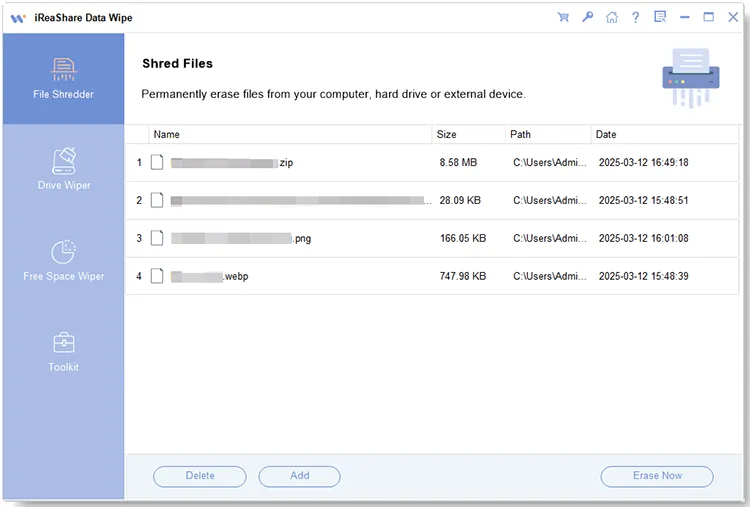
Click "Add File" to find your Word document. Or you can directly drag and drop the file to the specified area.
-
After adding, click "Erase Now" > "OK" to start the process. Then your Word file will be erased.
Watch the video guide to delete your file permanently:
1.4 Using PowerShell
For power users, PowerShell can force-delete files without moving them to the bin. Thus, you can use PowerShell to remove your Word document with command lines, which is slightly complicated.
Here's how:
-
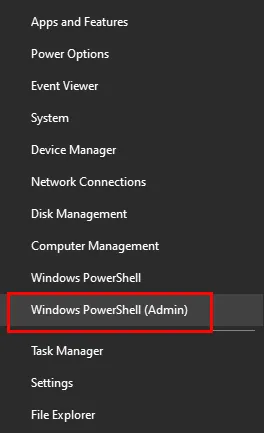
Right-click the "Start" button and select "Windows PowerShell (Admin)" or "Terminal (Admin)".
-
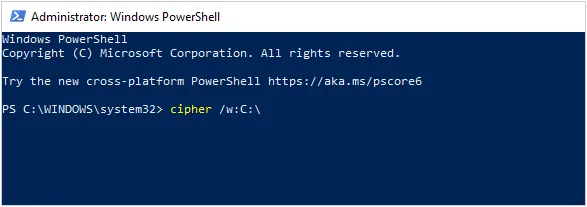
Type the command: Remove-Item -Path "C:\Path\To\Your\Document.docx" -Force. Replace the path with the actual file location. Then press "Enter".
-
Once done, type "cipher /w:C:\Path\To\Folder", and remember to replace the path. Hit on "Enter" again. Your Word document will be overwritten.
Part 2: How Do I Permanently Delete a Word Document on Mac via Disk Utility?
Disk Utility is primarily for managing drives, but you can securely erase free space to ensure previously "deleted" files are gone for good. Please note that modern SSDs handle data differently; often, simply emptying the trash is sufficient as macOS uses TRIM to clear data blocks. By the way, this way will wipe a whole drive.
To permanently delete a Word file on Mac:
-
Delete the file normally by moving it to "Trash" and emptying it.
-
Open "Disk Utility" (found in Applications > Utilities), and select your hard drive from the left sidebar.
-
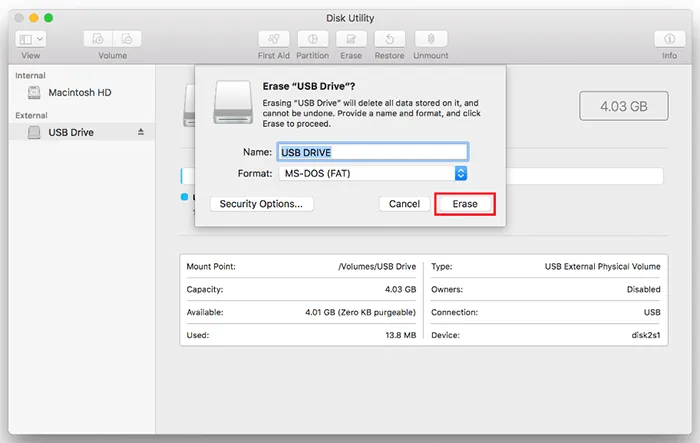
Click the "Erase" button in the toolbar. Click "Security Options" (if available on your macOS version) and choose how many times to overwrite the data. Finally, confirm the operation by clicking the "Erase" icon.
Part 3: How to Delete a Word Document Permanently on Mobile Device?
On iOS and Android, file management is sandboxed. You can utilize their file management app to delete your document. Remember, there is a Recently Deleted feature to store deleted files within 30 days, so you need to remove your file from this folder. By the way, this method can delete your file but not overwrite it.
To delete a Word file on an Android device:
-
Go to File Manager, and locate the Word file.
-
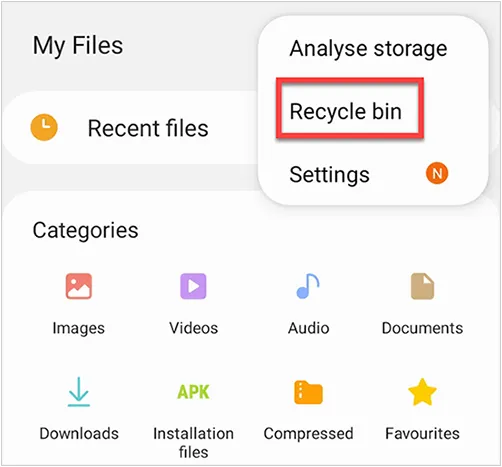
Tap "Delete". Then navigate to "Recycle bin" and remove the file again.
To delete a Word document on an iPhone or iPad:
-
Open the Files app, and locate the location of the Word file.
-
long-press the file, and select "Delete".
-
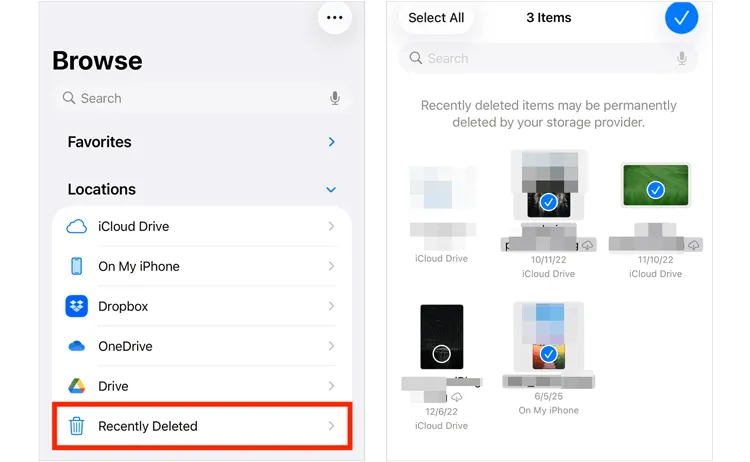
Go to the "Recently Deleted" folder within the Files app sidebar and select "Delete All" to purge it permanently.
Part 4: Q&A About Permanently Deleting Word Documents
Q1: Will Microsoft keep my Word documents after I delete it from my computer?
If you saved the file to OneDrive or SharePoint, deleting it from your local machine does not remove it from the cloud. You must log into your Microsoft account online and delete the file from the cloud storage recycle bin to remove it permanently from Microsoft's servers.
Q2: How to force delete a file that cannot be deleted?
If a file says it is "in use", close all instances of Word. If the error persists, restart your computer to clear the file lock. If you still cannot delete it, use the Command Prompt (cmd) with administrator privileges or try booting into "Safe Mode" to remove the locked file.
Q3: Why are files not permanently deleted on our devices?
When you delete a file, the operating system simply marks the space the file occupied as "available for reuse." The actual data remains on the disk until new data is written over it. This is why data recovery software can often retrieve deleted files if they haven't been overwritten yet.
Conclusion
You can permanently delete a Word document on different devices easily with the methods above. However, if you want to ensure your document is overwritten, you will need a dedicated tool like iReaShare Data Wipe. This program can erase your different types of files and wipe diverse storage devices. Try it if you need to remove a document from a PC.
Related Articles
How to Permanently Delete Photos from iPhone via Hassle-free Methods
How to Wipe a Hard Drive Before Selling (Remove Everything Forever)
How to Factory Reset PC Windows 10 or 11 Easily (3 Ways)
How to Wipe and Clean Seagate External Hard Drive on Windows and Mac
