


When your Windows PC starts running out of space, one of the first tools you may turn to is Disk Cleanup. This built-in utility helps remove unnecessary files, temporary data, and cached system files to free up storage. However, many users encounter an issue where Disk Cleanup runs but does not actually delete the selected files. If you've experienced this frustration, don't worry, read this guide to quickly fix Disk Cleanup not deleting files.
- Part 1: Why Disk Cleanup Is Not Deleting Files on Windows PC
- Part 2: How to Fix Disk Cleanup Not Deleting Files on Windows 11/10
- 2.1 Run Disk Cleanup As Administrator
- 2.2 Use Storage Sense for Automated Cleanup
- 2.3 Manually Delete Specific Files
- 2.4 Check for Active Processes Using the Files
- 2.5 Troubleshoot Windows Update Components
- 2.6 Use Command Line Tools
- 2.7 Gain Permission to Delete Files on PC
- 2.8 Run System File Checker and DISM
- Part 3: Delete Your Files on PC via iReaShare Data Wipe Without Disk Cleanup
- Part 4: FAQs About Disk Cleanup Deleting Files
Part 1: Why Disk Cleanup Is Not Deleting Files on Windows PC
If you're trying to free up space on your Windows PC, but Disk Cleanup seems stuck or fails to remove specific files, there are a few common reasons for this. Understanding these causes is the first step to fixing the problem.
- Insufficient Permissions: Some system files require elevated privileges to be removed.
- Files in Use: Active processes may lock certain files, preventing Disk Cleanup from deleting them.
- Windows Update Issues: Temporary update files may not be cleared due to update service errors.
- Corrupted System Files: Damaged system components can interfere with normal cleanup operations.
- User Profile or Permission Restrictions: Your account may lack the required rights to delete specific files.
Part 2: How to Fix Disk Cleanup Not Deleting Files on Windows 11/10
Here are 8 effective methods to troubleshoot and fix Disk Cleanup not working as expected.
2.1 Run Disk Cleanup As Administrator
This is the most crucial step. To ensure Disk Cleanup has the necessary permissions to delete system files and old Windows Update files, you must run it with administrator rights.
Here are the steps:
-
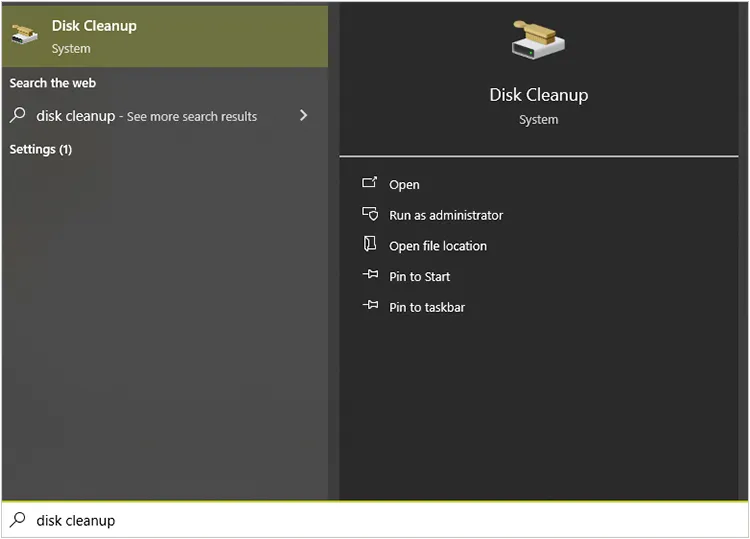
Press the Windows key, type "Disk Cleanup", and then right-click the app from the search results.
-
Select "Run as administrator".
-
Choose the drive you want to clean and then select "Clean up system files" in the next window. This gives you access to more options for deeper cleaning.
2.2 Use Storage Sense for Automated Cleanup
Windows 10 and 11 have a built-in feature called Storage Sense that can automatically clean up temporary files and old downloads. When Disk Cleanup doesn't delete files on your Windows 11 or Windows 10 PC, you can use it.
Here's how:
-
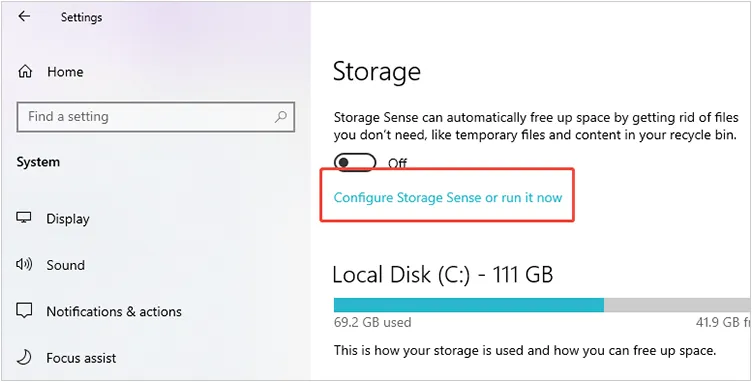
Click "Start", and choose "Settings" > "System" > "Storage".
-
Turn on "Storage Sense".
-
Click on "Configure Storage Sense or run it now" to customize what it deletes and how often it runs.
2.3 Manually Delete Specific Files
If you know which files are causing the issue, you can try deleting them yourself. Common culprits include files in the Temp folder.
To manually delete files on a PC:
-
Press the "Windows" key + "R", type "temp", and press "Enter".
-
This will open the user's temporary folder. Press "Ctrl" + "A" to select all files and press "Delete". Or select useless files and delete them.

2.4 Check for Active Processes Using the Files
Files that are in use can't be deleted. Use Task Manager to check for any running programs that might be using the files you want to remove.
Here's how:
-
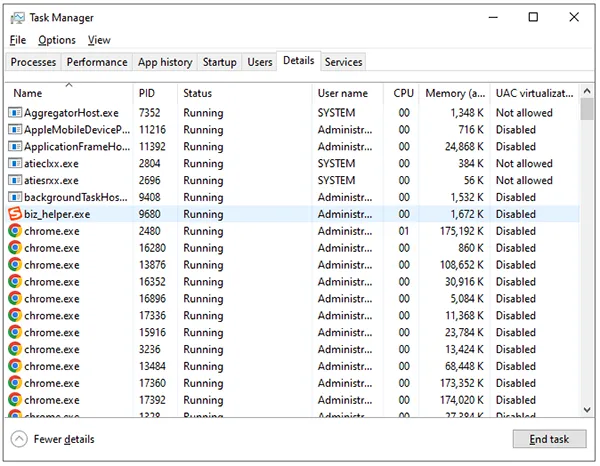
Press "Ctrl" + "Shift" + "Esc" to open "Task Manager".
-
Go to the "Details" tab to see all running processes. If you identify a process that's related to the files, you can try to end the task. Be careful with this, as ending the wrong process can cause system instability.
Read more: If you want to safely sell your SSD, you will need to erase all your data from the SSD disk.
2.5 Troubleshoot Windows Update Components
Sometimes, pending or failed Windows Updates can lock up temporary files. If Disk Cleanup doesn't delete files on your Windows 11 or Windows 10 computer, you can restart the Windows update.
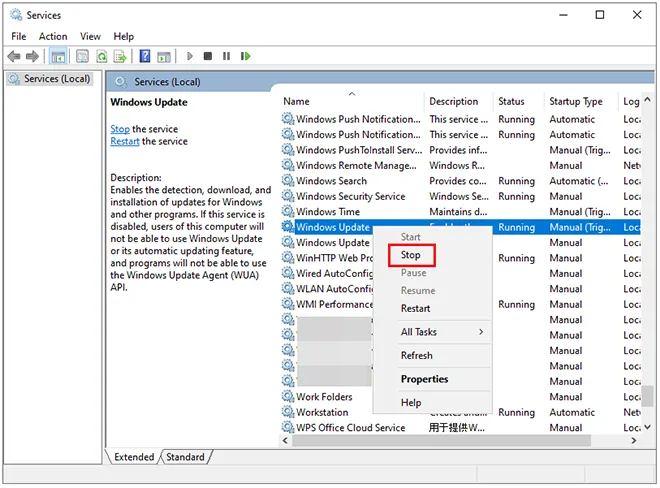
To stop Windows updates and delete files manually:
-
Press the "Windows" key and "R", type "services.msc", and press "Enter".
-
Find "Windows Update", right-click it, and select "Stop".
-
Manually deleting the files in the "SoftwareDistribution" folder (which stores temporary update files). You can find it at C:\Windows\SoftwareDistribution.
2.6 Use Command Line Tools
For a more powerful cleanup, you can use Command Prompt with administrative privileges to delete your files.
Use the Command Line to delete files:
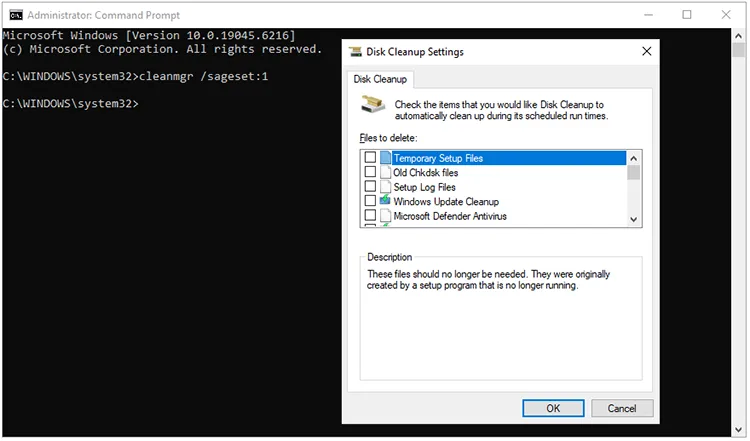
-
Press the "Windows" key, type "cmd", right-click "Command Prompt", and select "Run as administrator".
-
Type "cleanmgr /sageset:1" and press "Enter". This will open an advanced "Disk Cleanup" settings window. Select everything you want to clean and click "OK".
-
Then, run the cleanup using "cleanmgr /sagerun:1" to execute the cleaning with the settings you just saved.
2.7 Gain Permission to Delete Files on PC
If a file is locked, you might need to take ownership of it. This is a more advanced process and should be done with caution.
To delete locked files:
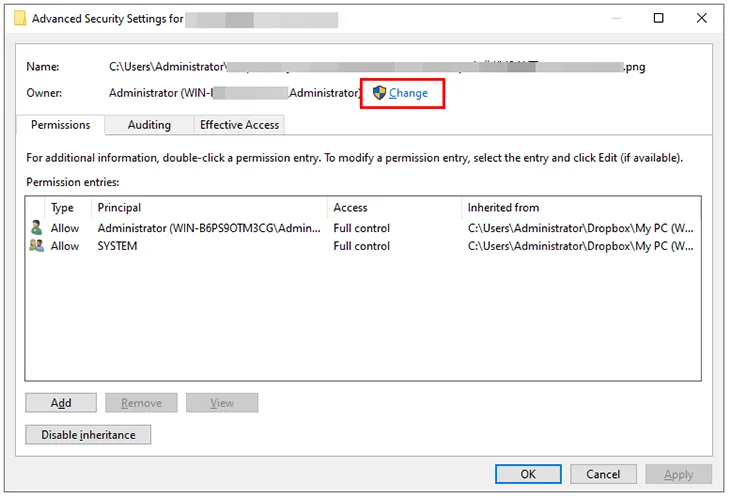
-
Right-click the file or folder you want to delete. Then go to "Properties" > "Security" > "Advanced".
-
Next to "Owner", click "Change" and enter your user name. Click "OK".
-
Once you're the owner, you can modify the permissions to allow deletion.
2.8 Run System File Checker and DISM
Corrupted system files can sometimes interfere with cleanup tools. System File Checker (SFC) and Deployment Image Servicing and Management (DISM) can help fix this.
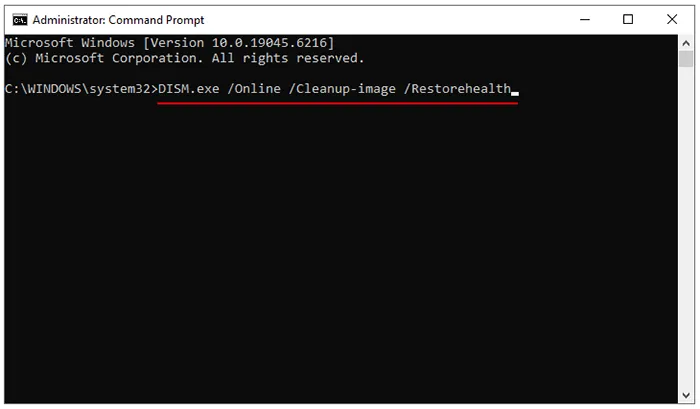
-
Click "Windows" and input "cmd" to open "Command Prompt", and run it as administrator.
-
First, run the DISM command: DISM.exe /Online /Cleanup-image /Restorehealth. Wait for it to complete.
-
Then, run the SFC command: sfc /scannow. This will scan and repair corrupted system files.
Part 3: Delete Your Files on PC via iReaShare Data Wipe Without Disk Cleanup
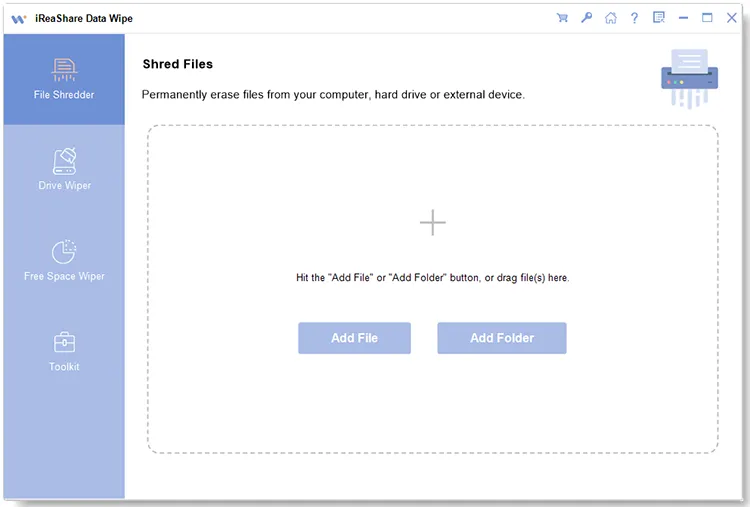
If you continue to have trouble with Disk Cleanup or need a more secure method for permanent deletion, a professional data erasure tool, iReaShare Data Wipe, can be a great alternative. It is designed to securely and permanently erase files, folders, and entire partitions. Besides, it can wipe the free space only to remove deleted files thoroughly.
Main features of iReaShare Data Wipe:
* Permanently delete files from a Windows PC.
* Erase hard drives, SD cards, USB drives, and other external storage devices.
* Provide two erasing modes: Quick Erase and Deep Erase.
* Overwrite data to effectively prevent data from recovery.
* Allow you to shred specific files and folders.
* Support Windows 11/10/18/7.
Download iReaShare Data Wipe.
Here's how to use this data wipe to delete files completely:
-
Install iReaShare Data Wipe on your PC after downloading it. Then launch the software on the computer.
-
To wipe all your data from your PC, you can choose "Drive Wiper" on the side panel. Then select a drive and an erasing mode.
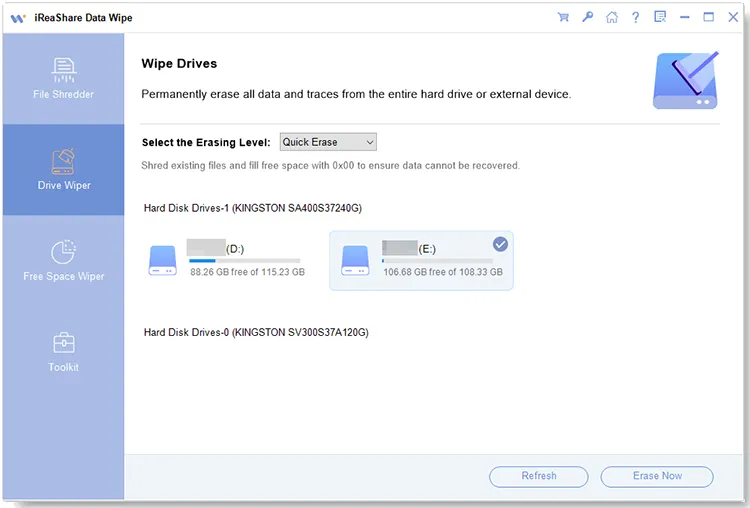
-
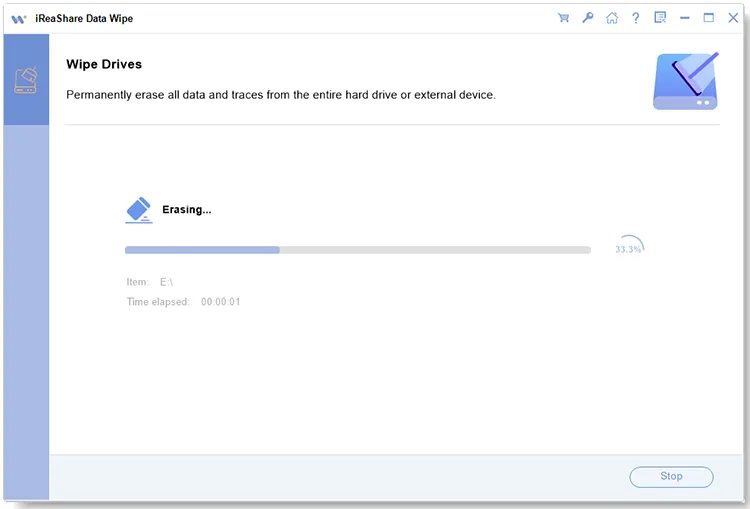
Click "Erase Now", and then confirm the operation by tapping "OK" on the popup. The software will begin to delete all your data from your computer.
Here's the video guide to delete files from a PC:
Tips: Please back up your important files before deleting your files.
Part 4: FAQs About Disk Cleanup Deleting Files
Q1: Will Disk Cleanup remove all files on my PC?
No, Disk Cleanup does not remove all files on your PC. It is designed to safely delete temporary files, system files, and other non-essential files that are no longer needed by your operating system or applications, such as temporary internet files, system error memory dump files, temporary files, recycle bin, old system restore points, downloaded program files, etc.
Q2: How do I force delete a file that won't delete?
If a file on your Windows PC won't delete (because it's locked, in use, or protected), you can force delete it using several methods. Here are 2 effective solutions:
- Close Programs Using the File: Press Ctrl + Shift + Esc to open Task Manager. Look for any program that might be using the file (Word, Photoshop, etc.). Right-click > tap End task. Then try deleting the file again.
- Restart in Safe Mode: Press Win + I > Update & Security > Recovery. Under Advanced Startup, click Restart now. Then choose Troubleshoot > Advanced options > Startup Settings > Restart. Now, try deleting the file.
Conclusion
While Disk Cleanup is a handy tool, it has its limitations. By using the methods above, you can often fix the issues and get your PC running smoothly again. For the most stubborn or sensitive files, a dedicated data-wiping tool like iReaShare Data Wipe can provide the peace of mind that your data is truly gone.
Related Articles
Is It Safe to Sell Used Hard Drives? Comprehensive Answers and Methods
Wipe and Clean Seagate External Hard Drive on Windows and Mac
How to Factory Reset PC Windows 10 or 11 Easily (3 Ways)
7 Best DBAN Alternatives Available to Wipe Hard Drive Completely
